Mechanical keyboards offer a unique typing experience, but sometimes the desire to customize or replace the keys may arise. In this article, we guide you step by step on how to change the keys on a mechanical keyboard .
We will also see the essential criteria to check if you want to buy new keycaps, in order to guarantee perfect compatibility with your keyboard.
Part 1: Tutorial - How to remove keys and switches from a mechanical keyboard?
To remove the keycaps and switches from your mechanical keyboard , you will need some equipment:
- A key puller
- A switch extractor
You can easily find these tools on several online sales sites.
Step 1: Prepare your workspace
Before you begin, make sure your workspace is clean and tidy. We advise you to sit on a large desk, where you will have enough space to place and sort the equipment in order to reduce the risk of losing small parts. Consider unplugging your mechanical keyboard , turning off Bluetooth, or removing the USB receiver from your PC if it's a wireless keyboard.
Step 2: Remove the keycaps
Take your key extractor and carefully remove the keys one by one. By pulling lightly, the key will be easily removed without the need for force, otherwise it could damage the equipment.
Place the removed keys in a safe place.
If you keep the same keycaps, we advise you to arrange them in the same order as they are placed on the keyboard. This will save you considerable time reinstalling them.

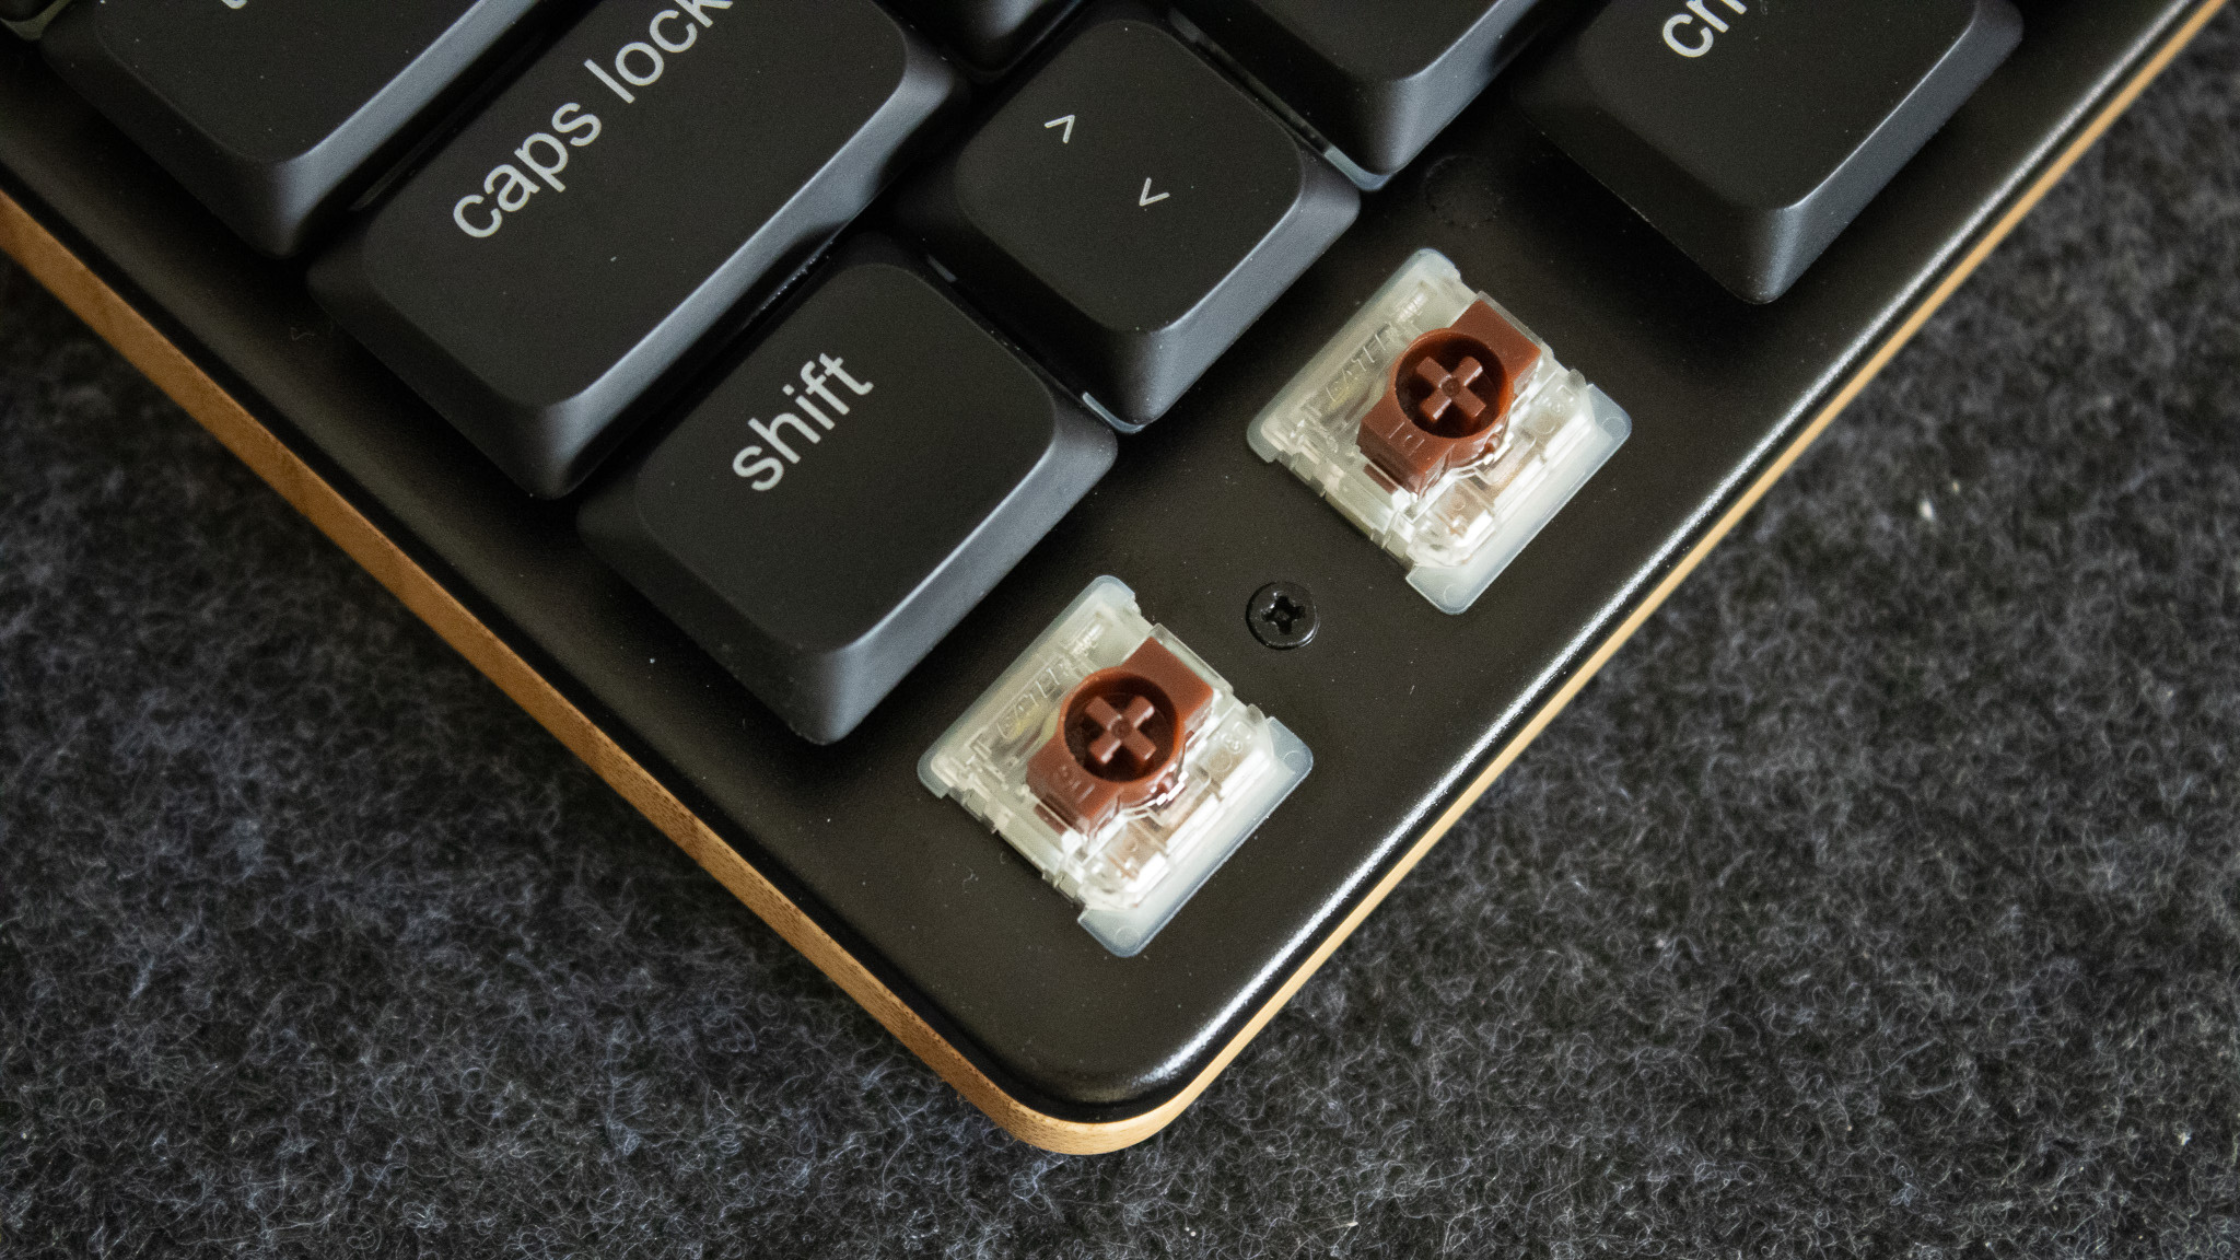
Step 3: Remove the switches
To remove the switches from your mechanical keyboard , take your switch extractor and place it around the switch you want to remove. Apply light pressure to the sides of the extractor and gently pull upward to pop the switch out of the holder. Repeat the process for each switch on your keyboard .

Step 4: Clean the Keyboard
Once your keys and switches have been removed, take the opportunity to clean your keyboard thoroughly . Dust, residue and bacteria quickly accumulate in our keyboard, which can hinder the proper functioning of the keys and mechanisms. By adopting a deep cleaning routine, you will significantly improve the durability and aesthetics of your keyboard.
To find out how to properly clean your computer keyboard , we have prepared a step-by-step tutorial for you: How to clean a computer keyboard?
Step 5: Install the new switches
To install new switches on your mechanical keyboard , simply align the pins of each switch with the corresponding contacts on the keyboard circuit. The pins must fit perfectly into the holes provided for this purpose. Firmly press the switch down to engage it.

Step 6: Install the new keys
To finish, all you have to do is install your new keys . The operation is very simple since you just need to align the “+” shape on your key, with the same shape present on the switch. Clip and repeat for all your keys.

Step 7: Check Operation
Once all these operations have been completed, you can plug or connect your keyboard again to your PC to test that the switches are working properly.
Part 2: Criteria to check before purchasing keys
Model compatibility
Make sure the keycaps you plan to purchase are compatible with the specific model of your mechanical keyboard. Manufacturers may have different keycap designs and sizes.
The type of switch
Mechanical keyboards use different types of switches, such as Cherry MX, Razer, etc. Check the switch type of your keyboard , as the keys may vary depending on these specifications.
The layout of the keys
Some keys, such as the space bar, function keys, and hotkeys, can have specific sizes and shapes. Make sure the new keys match your keyboard layout.
Materials and design
You will have the choice regarding the material and design of your keys. Two materials are frequently used in keycap design:
- PBT, recognized for its durability and resistance. Although PBT keycaps are generally more expensive, they offer higher quality.
- ABS, more common and economical, offers the possibility of having a backlit keyboard. However, it is a less robust material than PBT.
When it comes to design, a wide range of options are available. You can choose from a variety of colors and patterns, allowing for complete customization of your mechanical keyboard.
Conclusion
You now have all the keys to changing the keys and switches on your mechanical keyboard correctly. For those interested in further exploring customizing their mechanical keyboard, check out our detailed article on building a mechanical keyboard piece by piece . Now all that's left is to dive into the fascinating world of customizing and building mechanical keyboards to create a unique, high-performance mechanical keyboard that meets your exact needs.
Wireless or wired mechanical keyboard: The ultimate guide to choosing wisely in 2024
Does fast charging damage phone battery? What you really need to know!